Crafting a Stunning Natural Harbor Terrain

First Attempt
My natural harbor terrain piece is one of the initial creations from my early days in tabletop crafting. I had all the necessary materials at home, albeit scattered all over the place, so I needed to assess what I had and determine what I could craft from them.
My interest in terrain building had been growing for some time, primarily through the medium of watching instructional YouTube videos 😉 It took me three days to complete this terrain board. However, a significant portion of that time was spent patiently waiting for the glue and plaster to dry. It can be quite frustrating when you’re full of enthusiasm but unable to make progress. Nonetheless, this period of waiting taught me valuable lessons in patience and multitasking. I used the downtime to work on other small-scale projects.
Materials & Tools
Base: Wood, shelf backing
Structure: Styrofoam, pine bark, plaster
Paint: Acrylic (artist supplies)
Flock: Sand, soil, dill, pepper
Tools: Hot wire cutter (freehand), utility knife, cordless drill, spatula, brushes
Consumables: Wood glue (PVA), wood repair putty, screws, primer, nails, toothpicks


Time & Costs
Project Duration: 3 days
Working Hours: 5 – 6 hours
Material Costs: Unknown, as I had leftover materials from various projects in my stock.
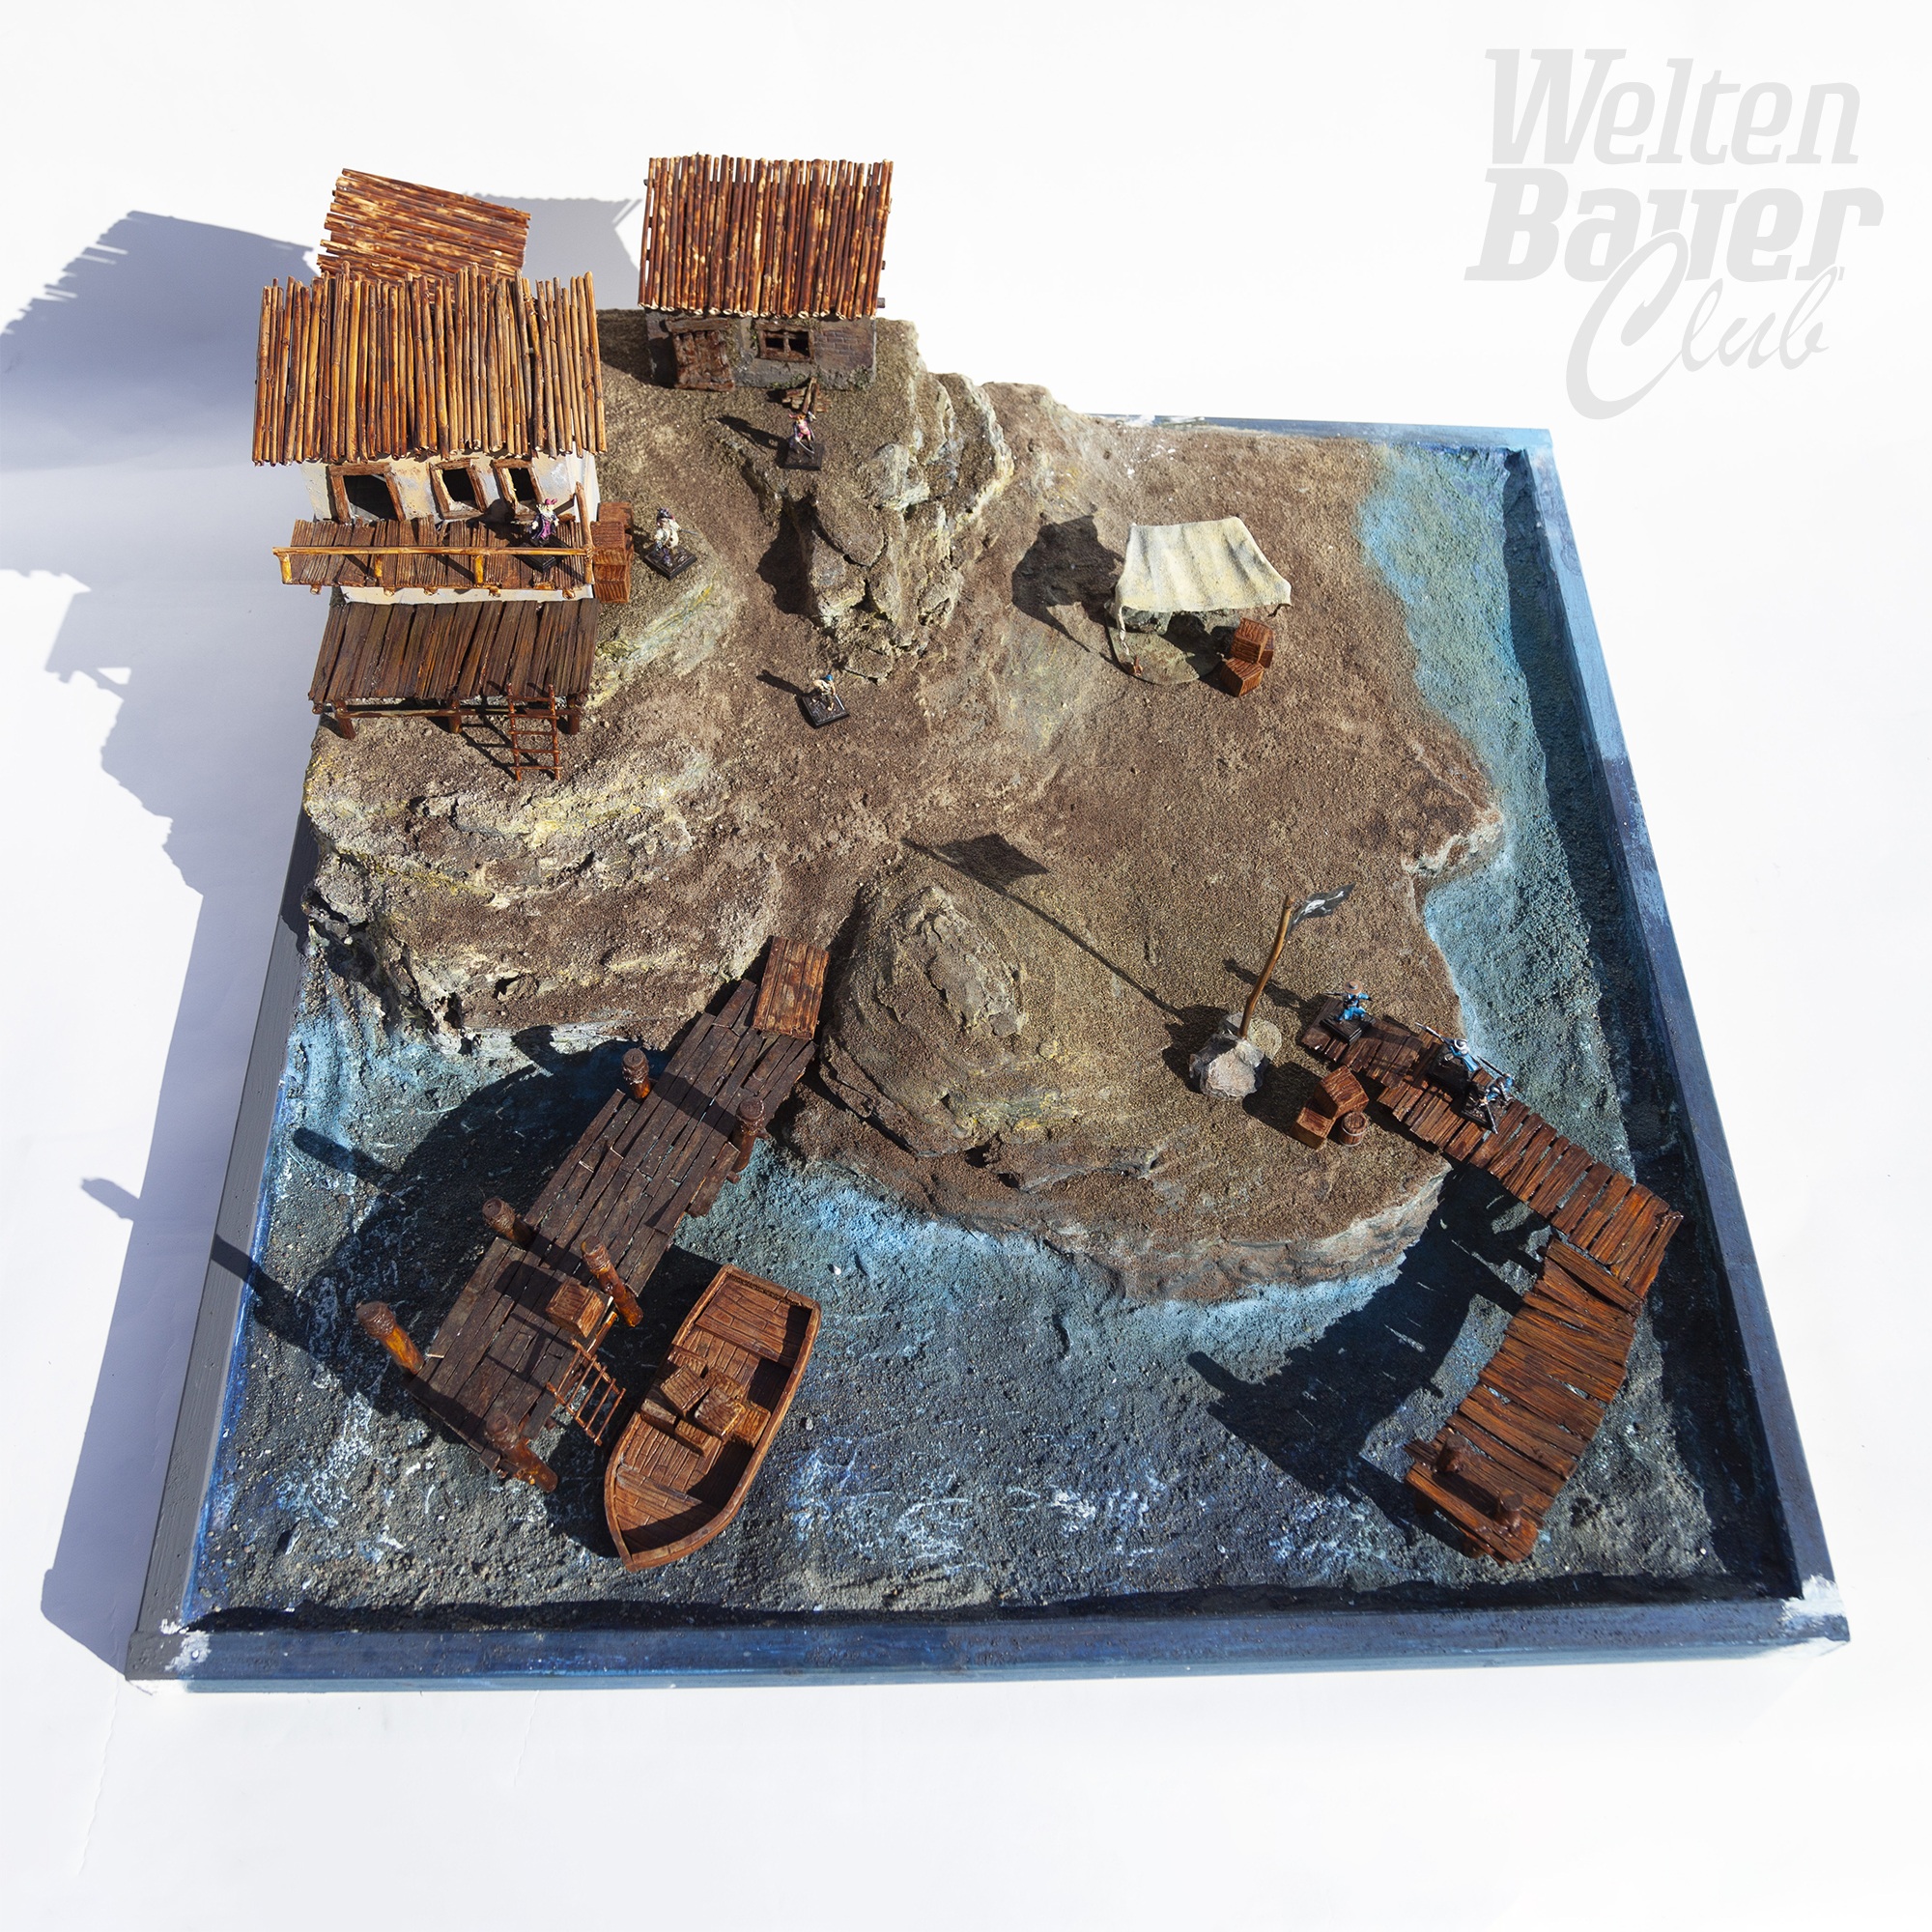
Dimensions
External Dimensions: 91.5 x 90 cm
Internal Dimensions: 86.5 x 85 cm
Elevation Height: 16 cm
Conclusion
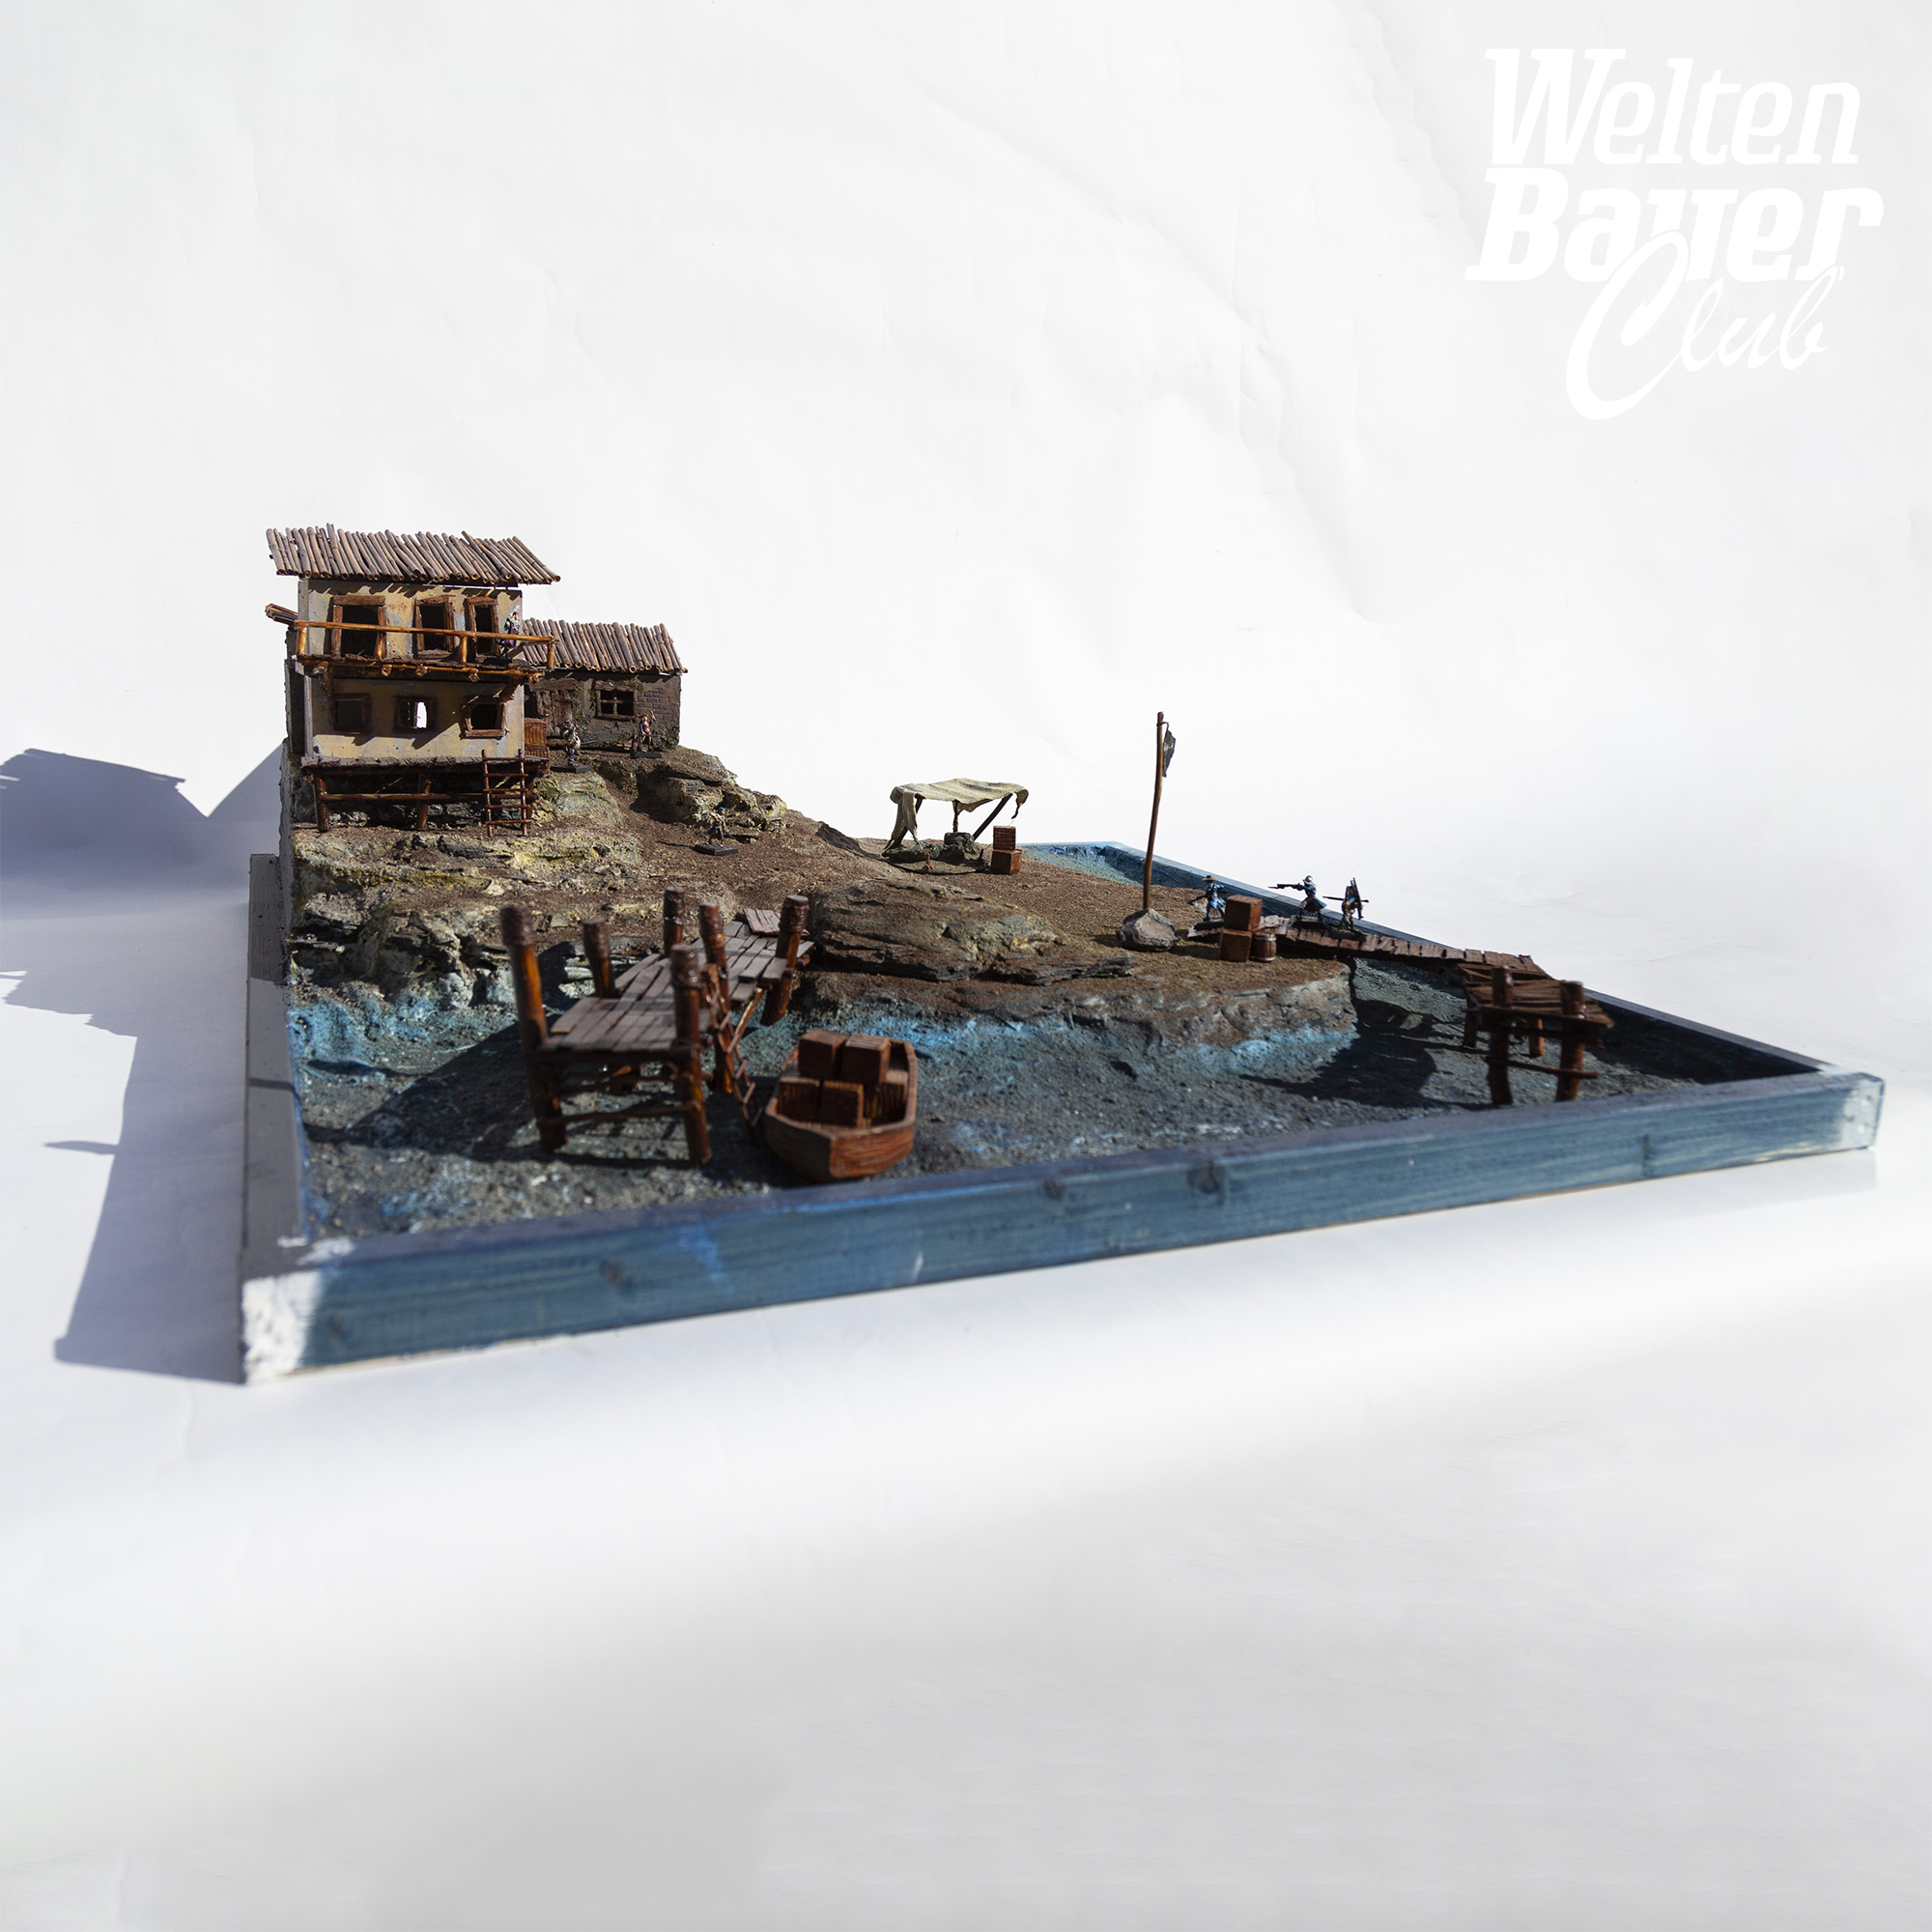
Visually and in terms of gameplay, I am content with the first board. I made a mistake with the external dimensions; the board was supposed to be 90 x 90 cm. Originally, the plan was to make the board fully playable up to the edges, but unfortunately, that idea got lost in the midst of construction.
My takeaway from this project: In any future board series, I should pay closer attention to the 90 x 90 cm dimensions and ensuring full playability.

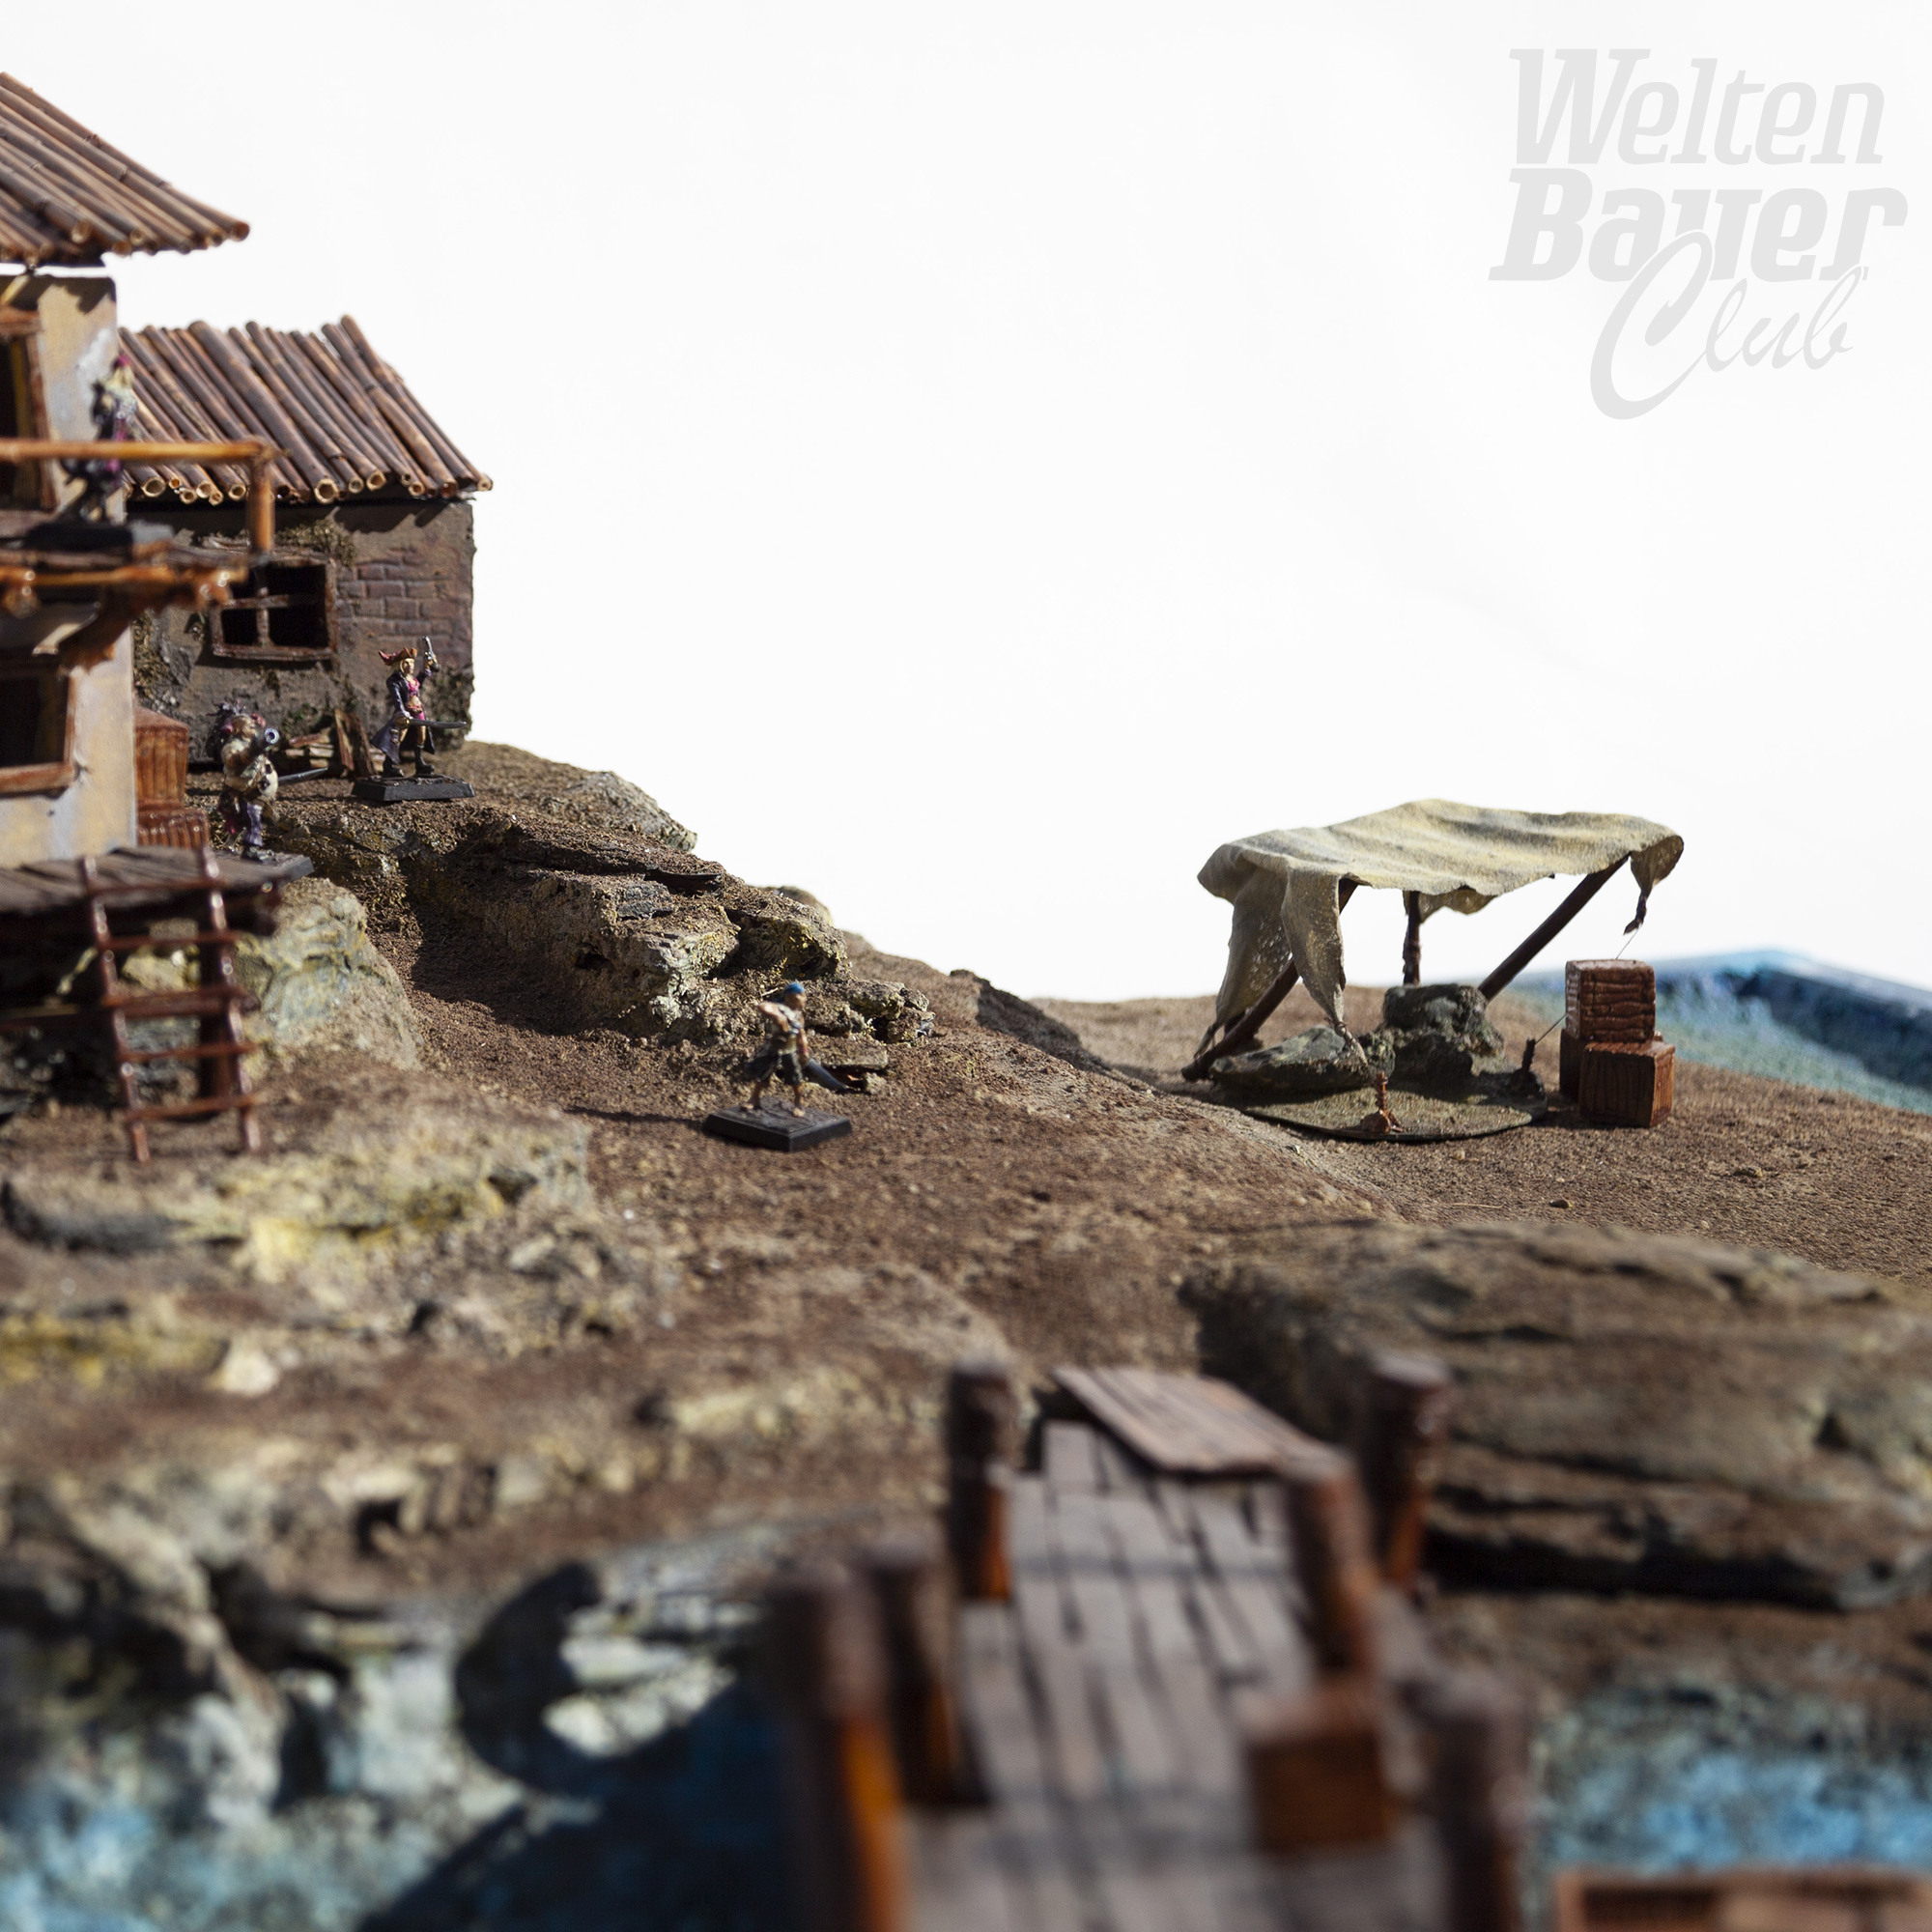
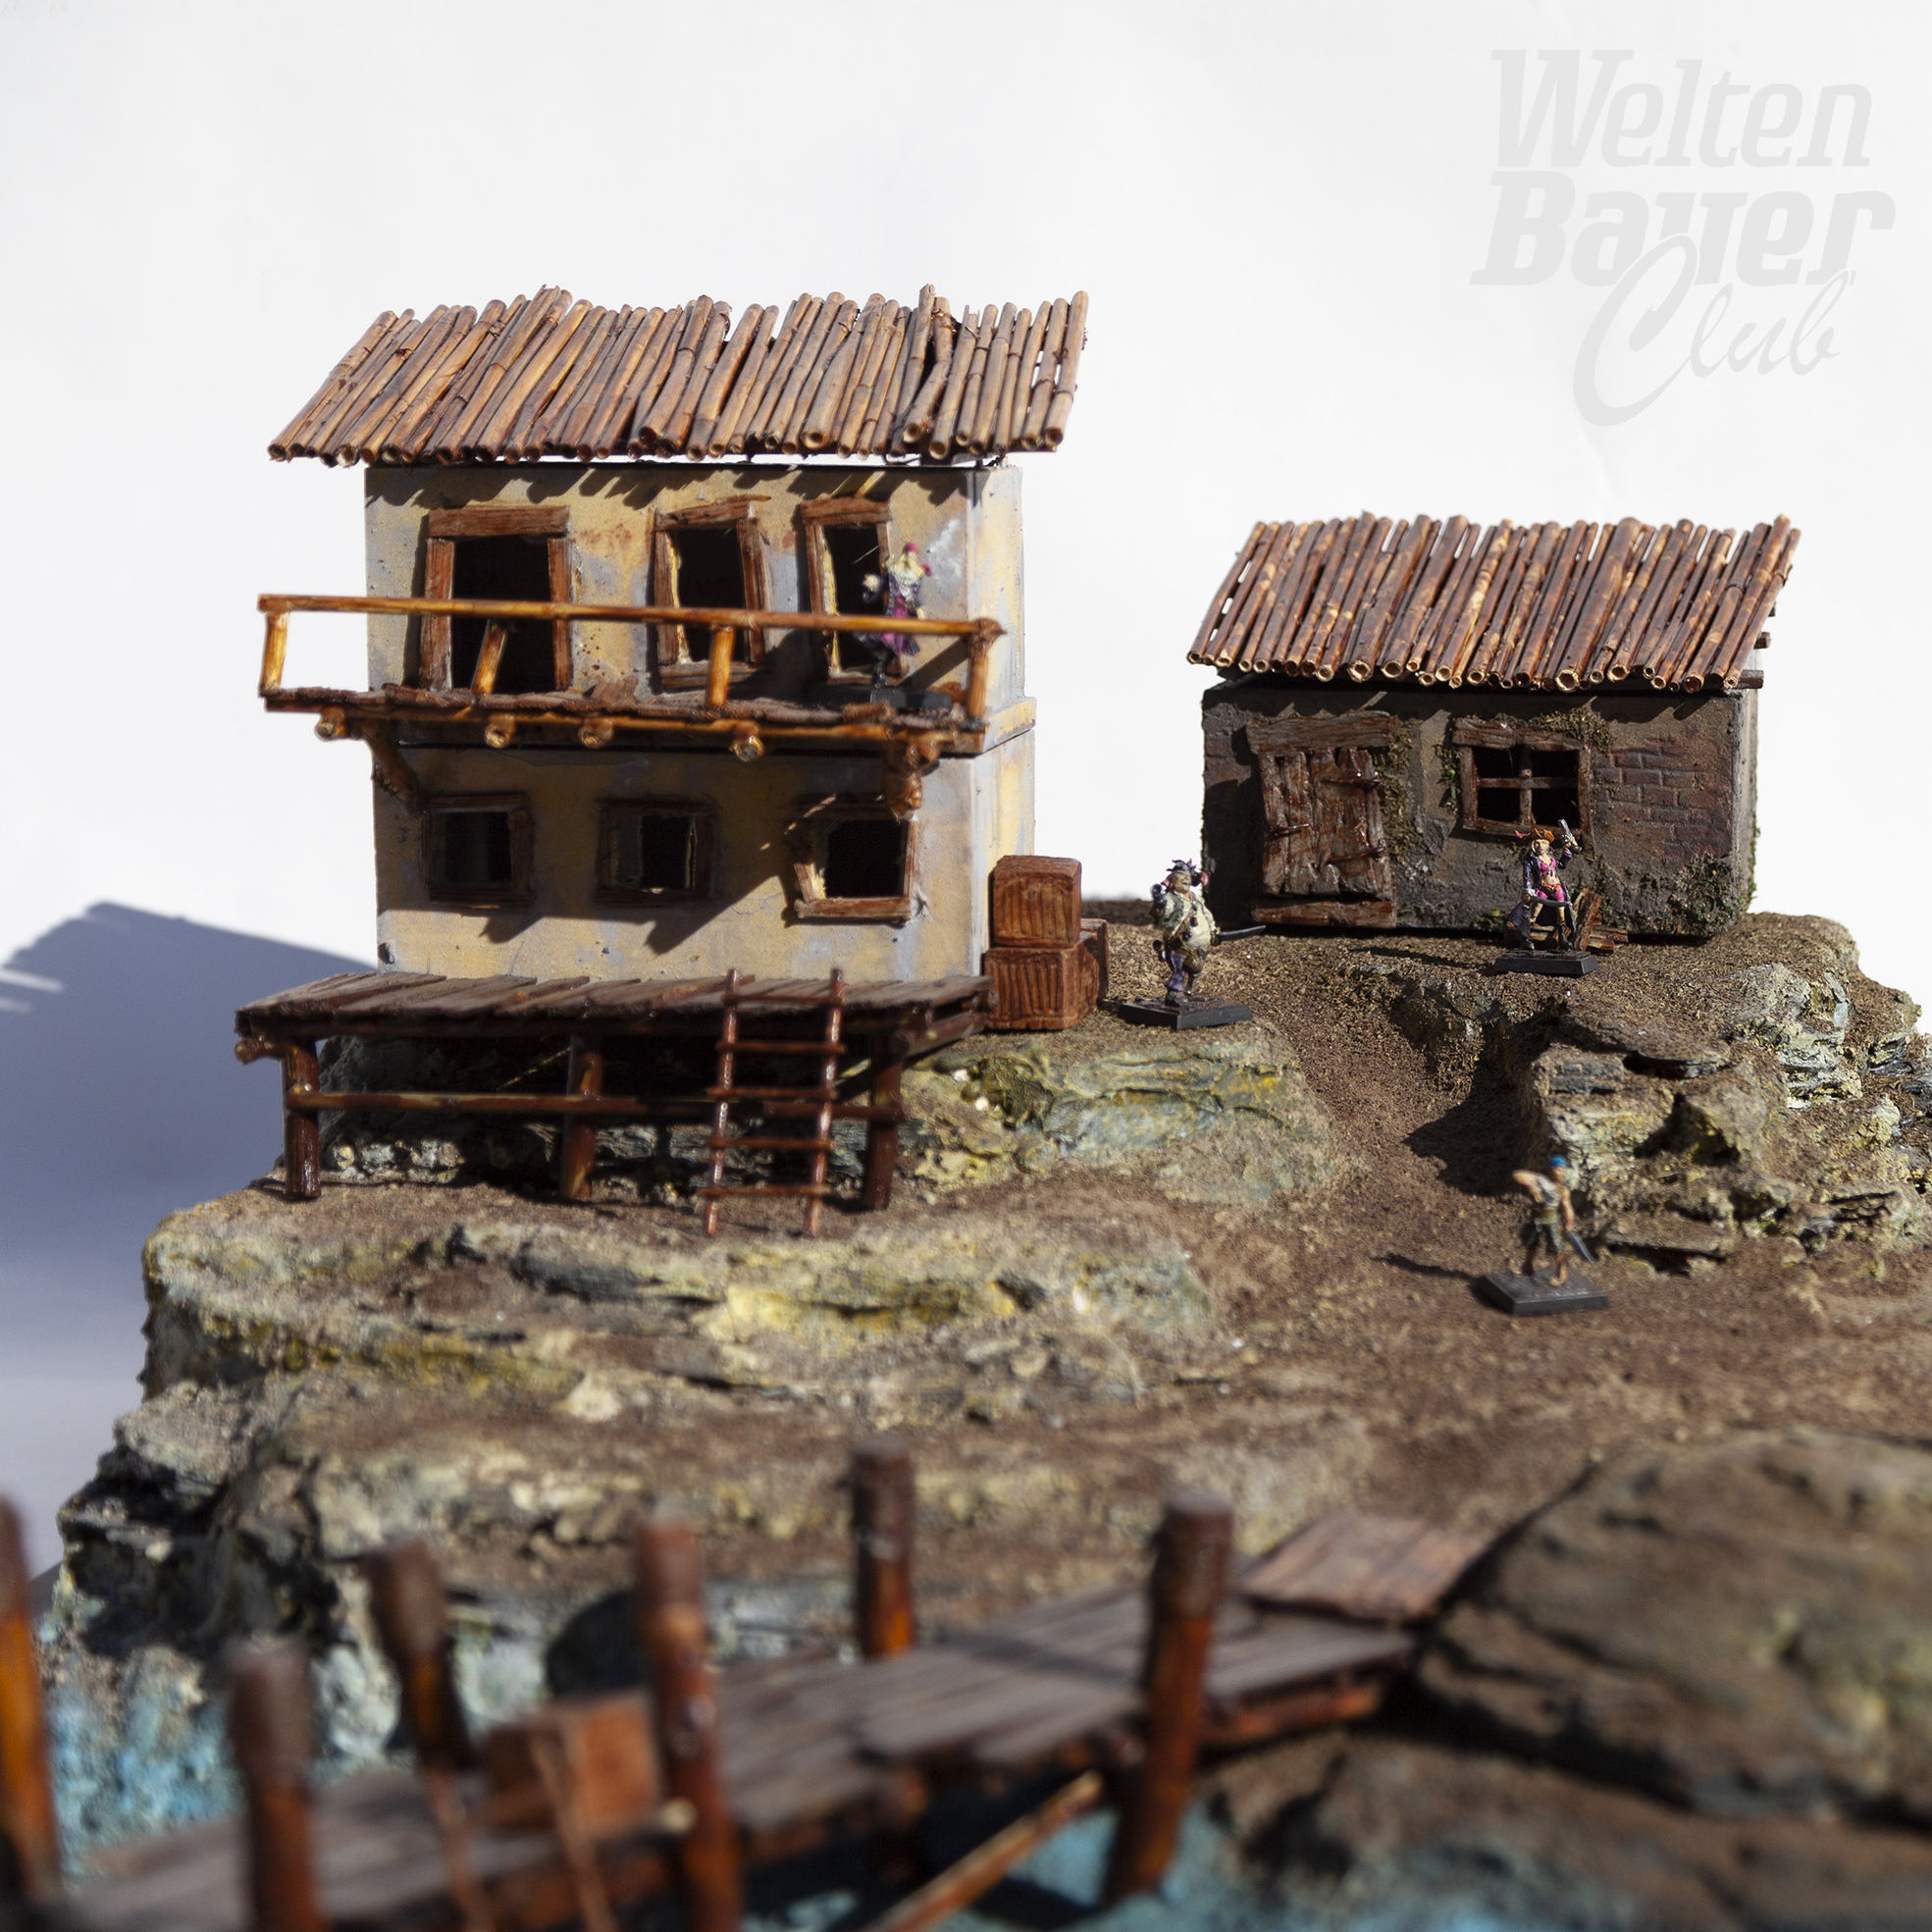
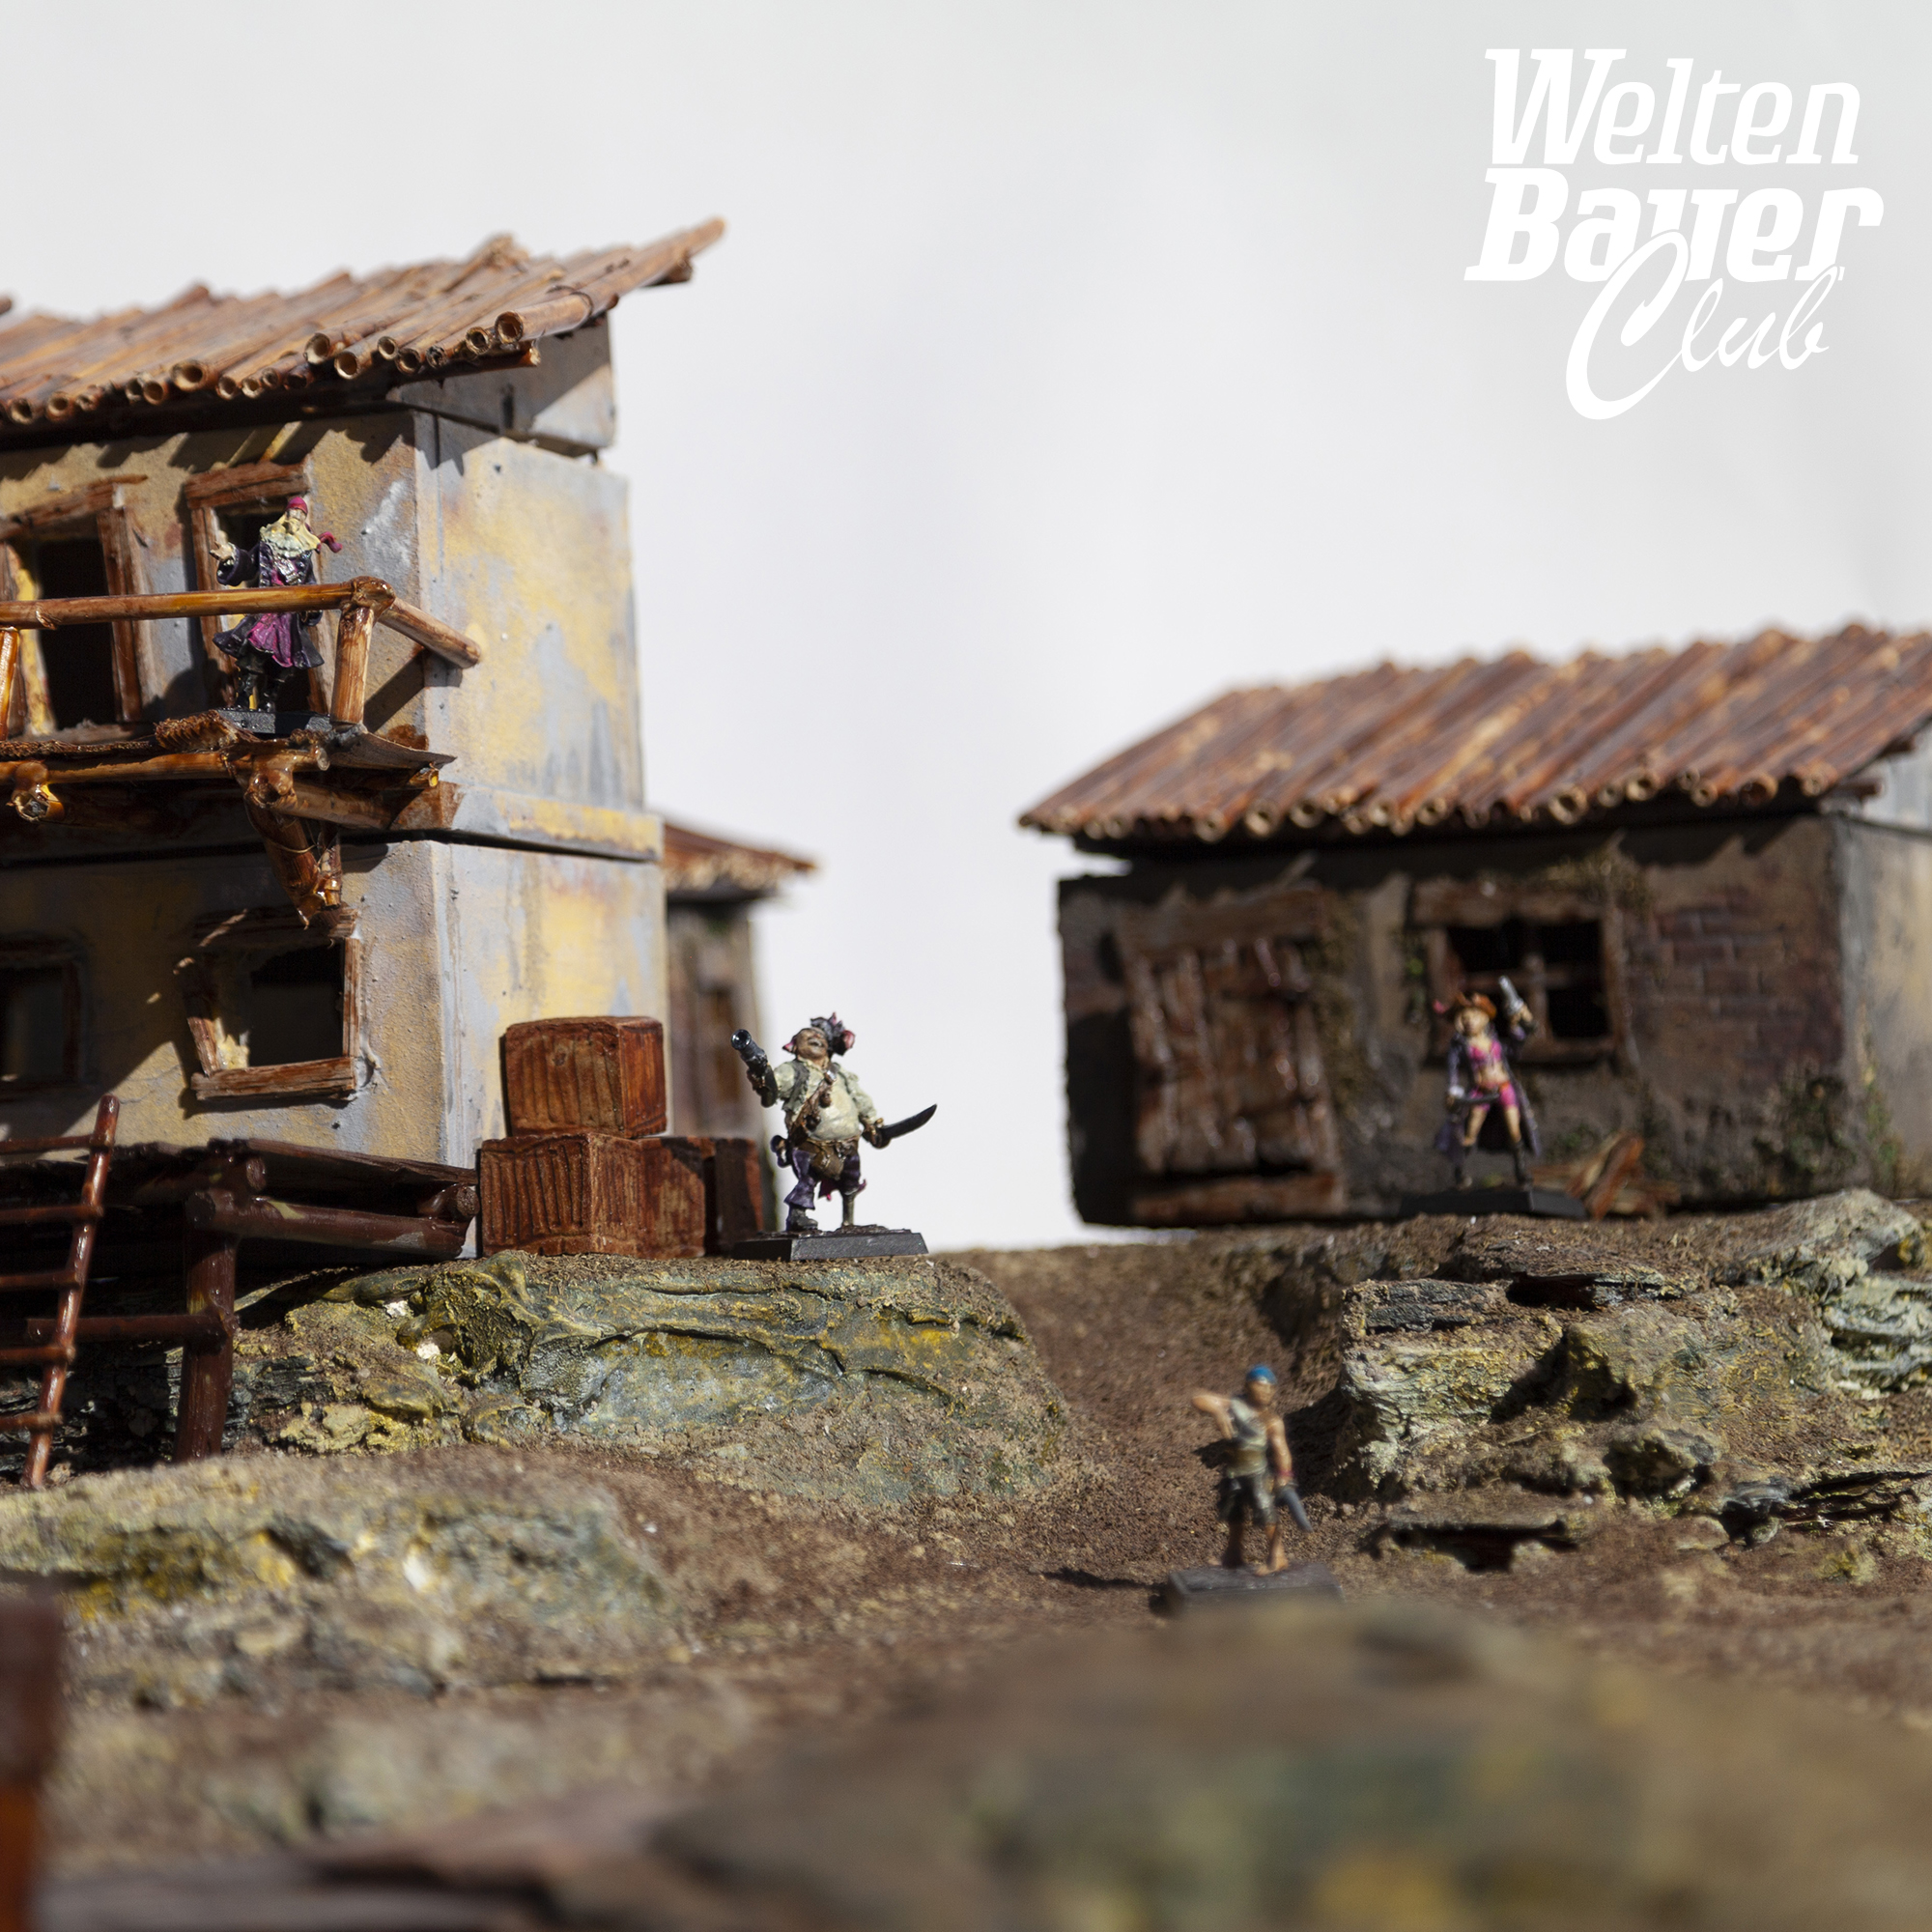
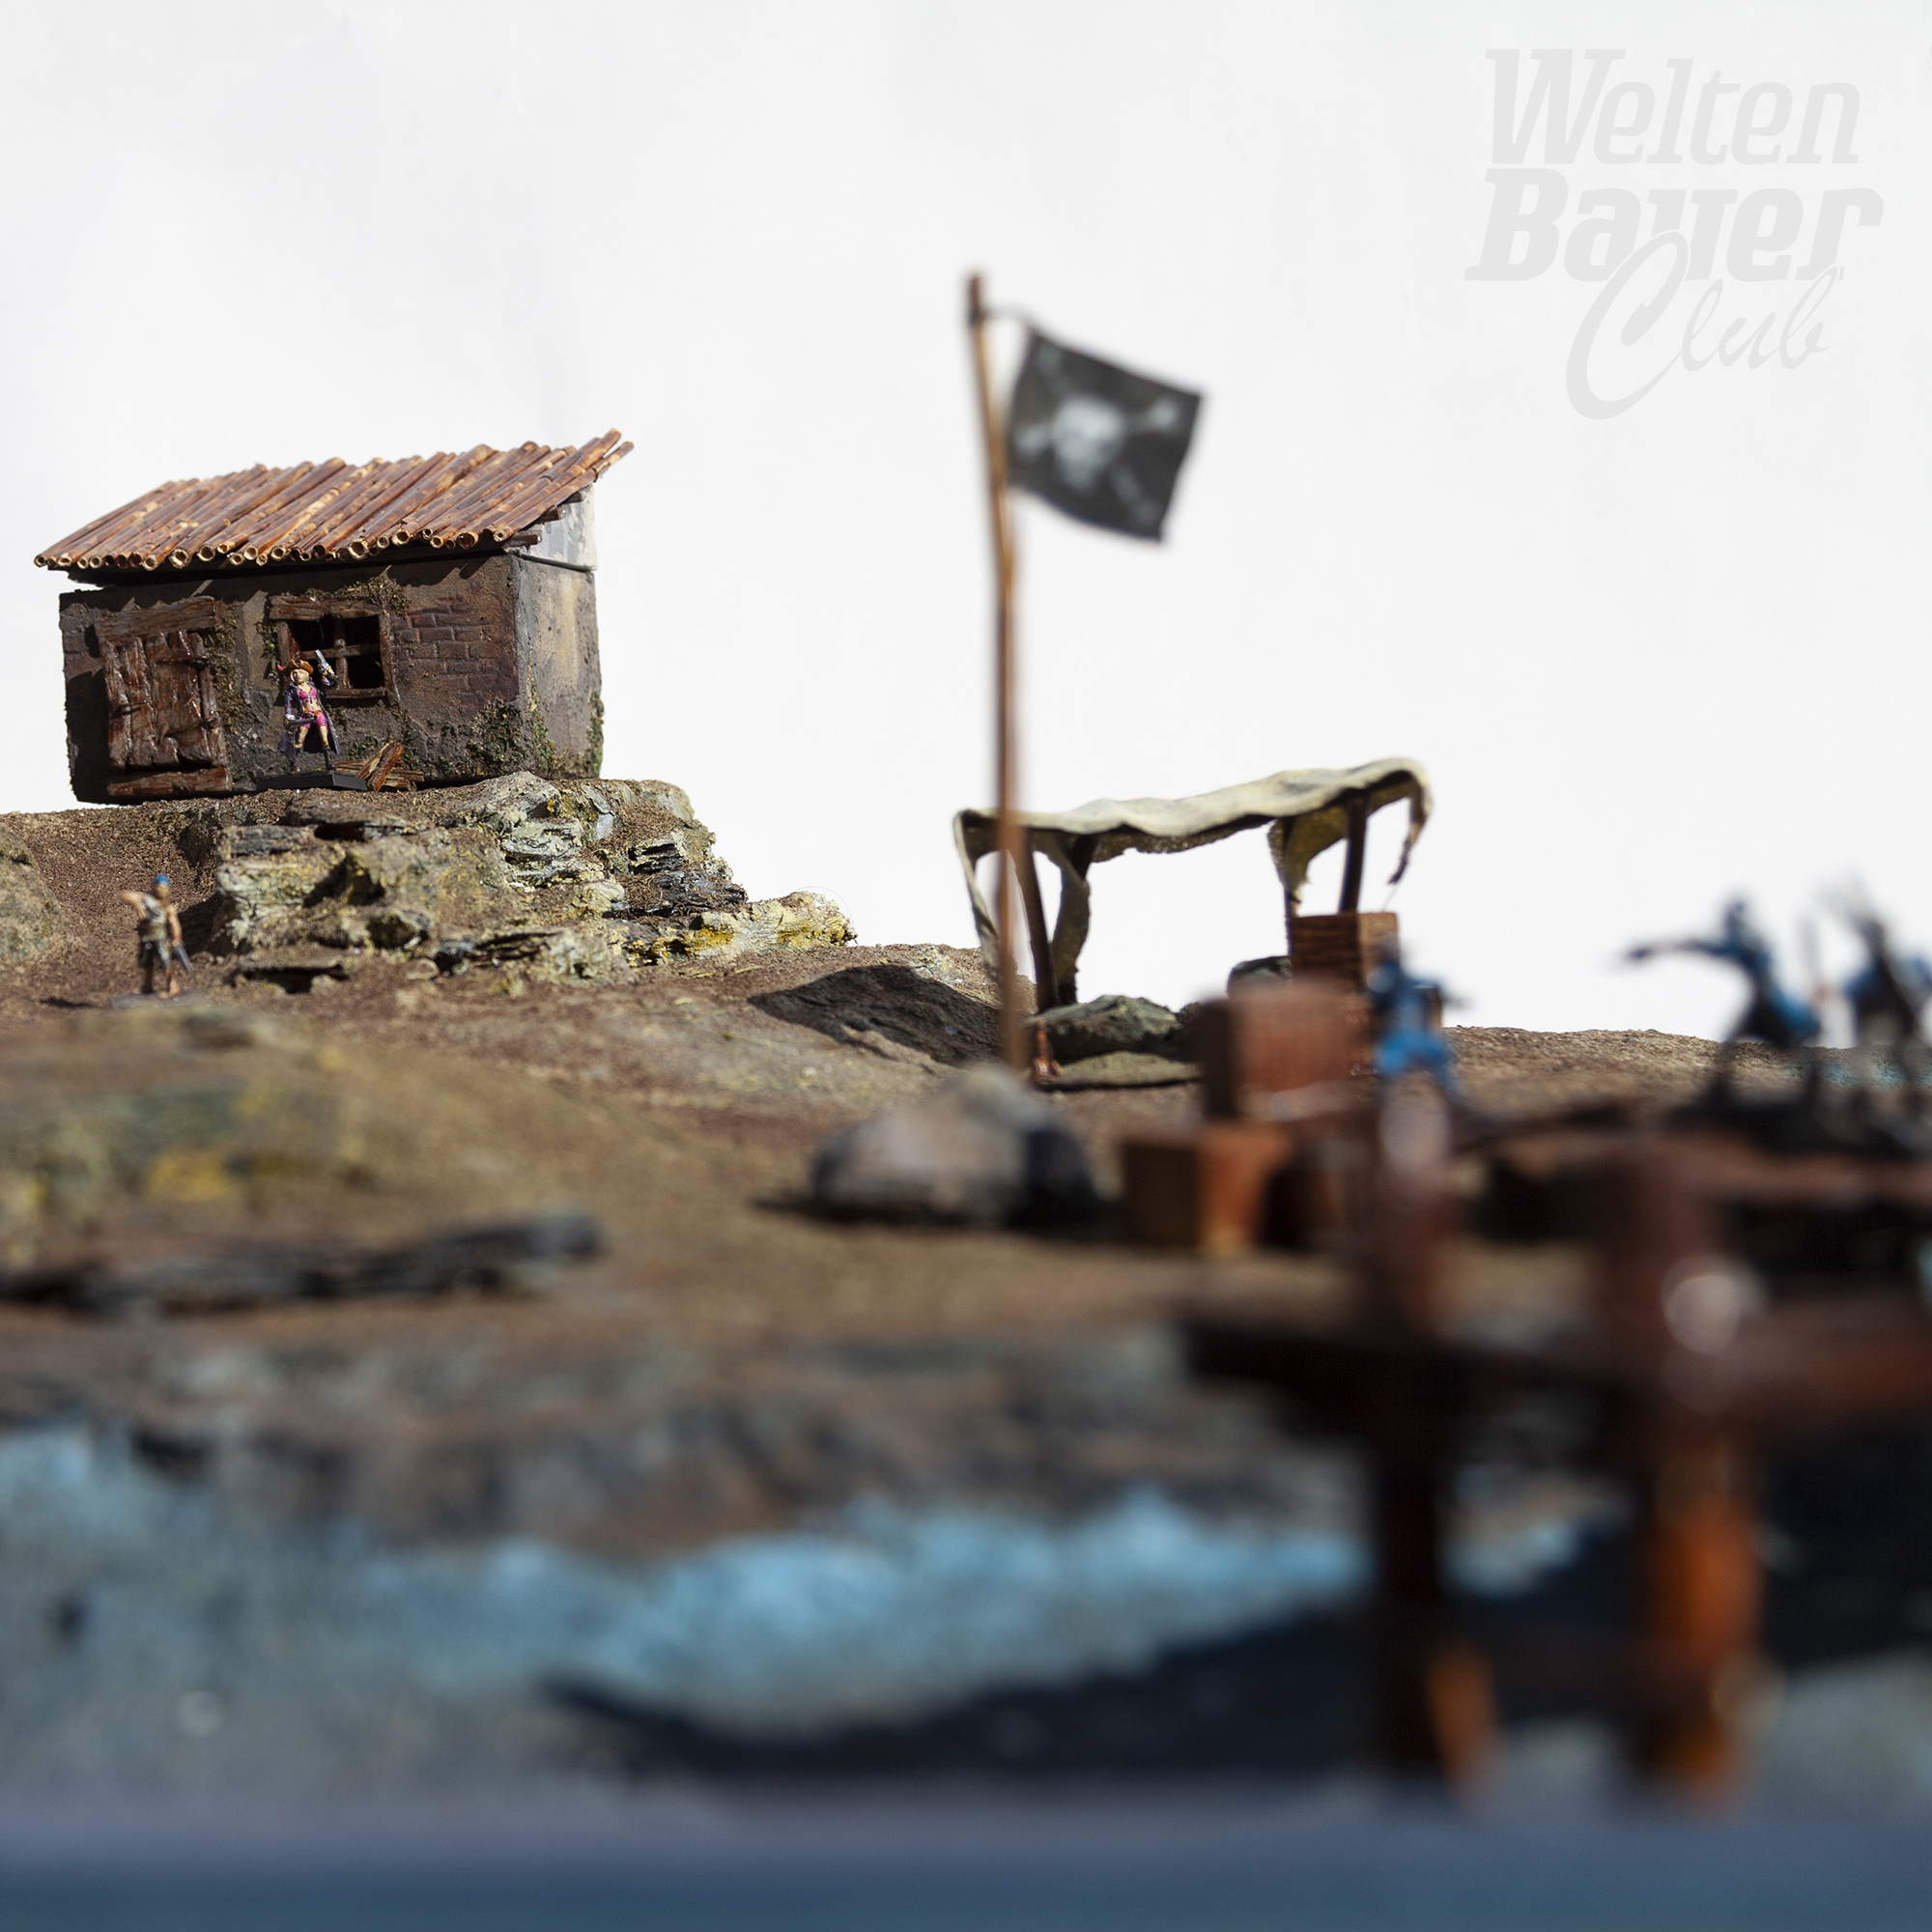
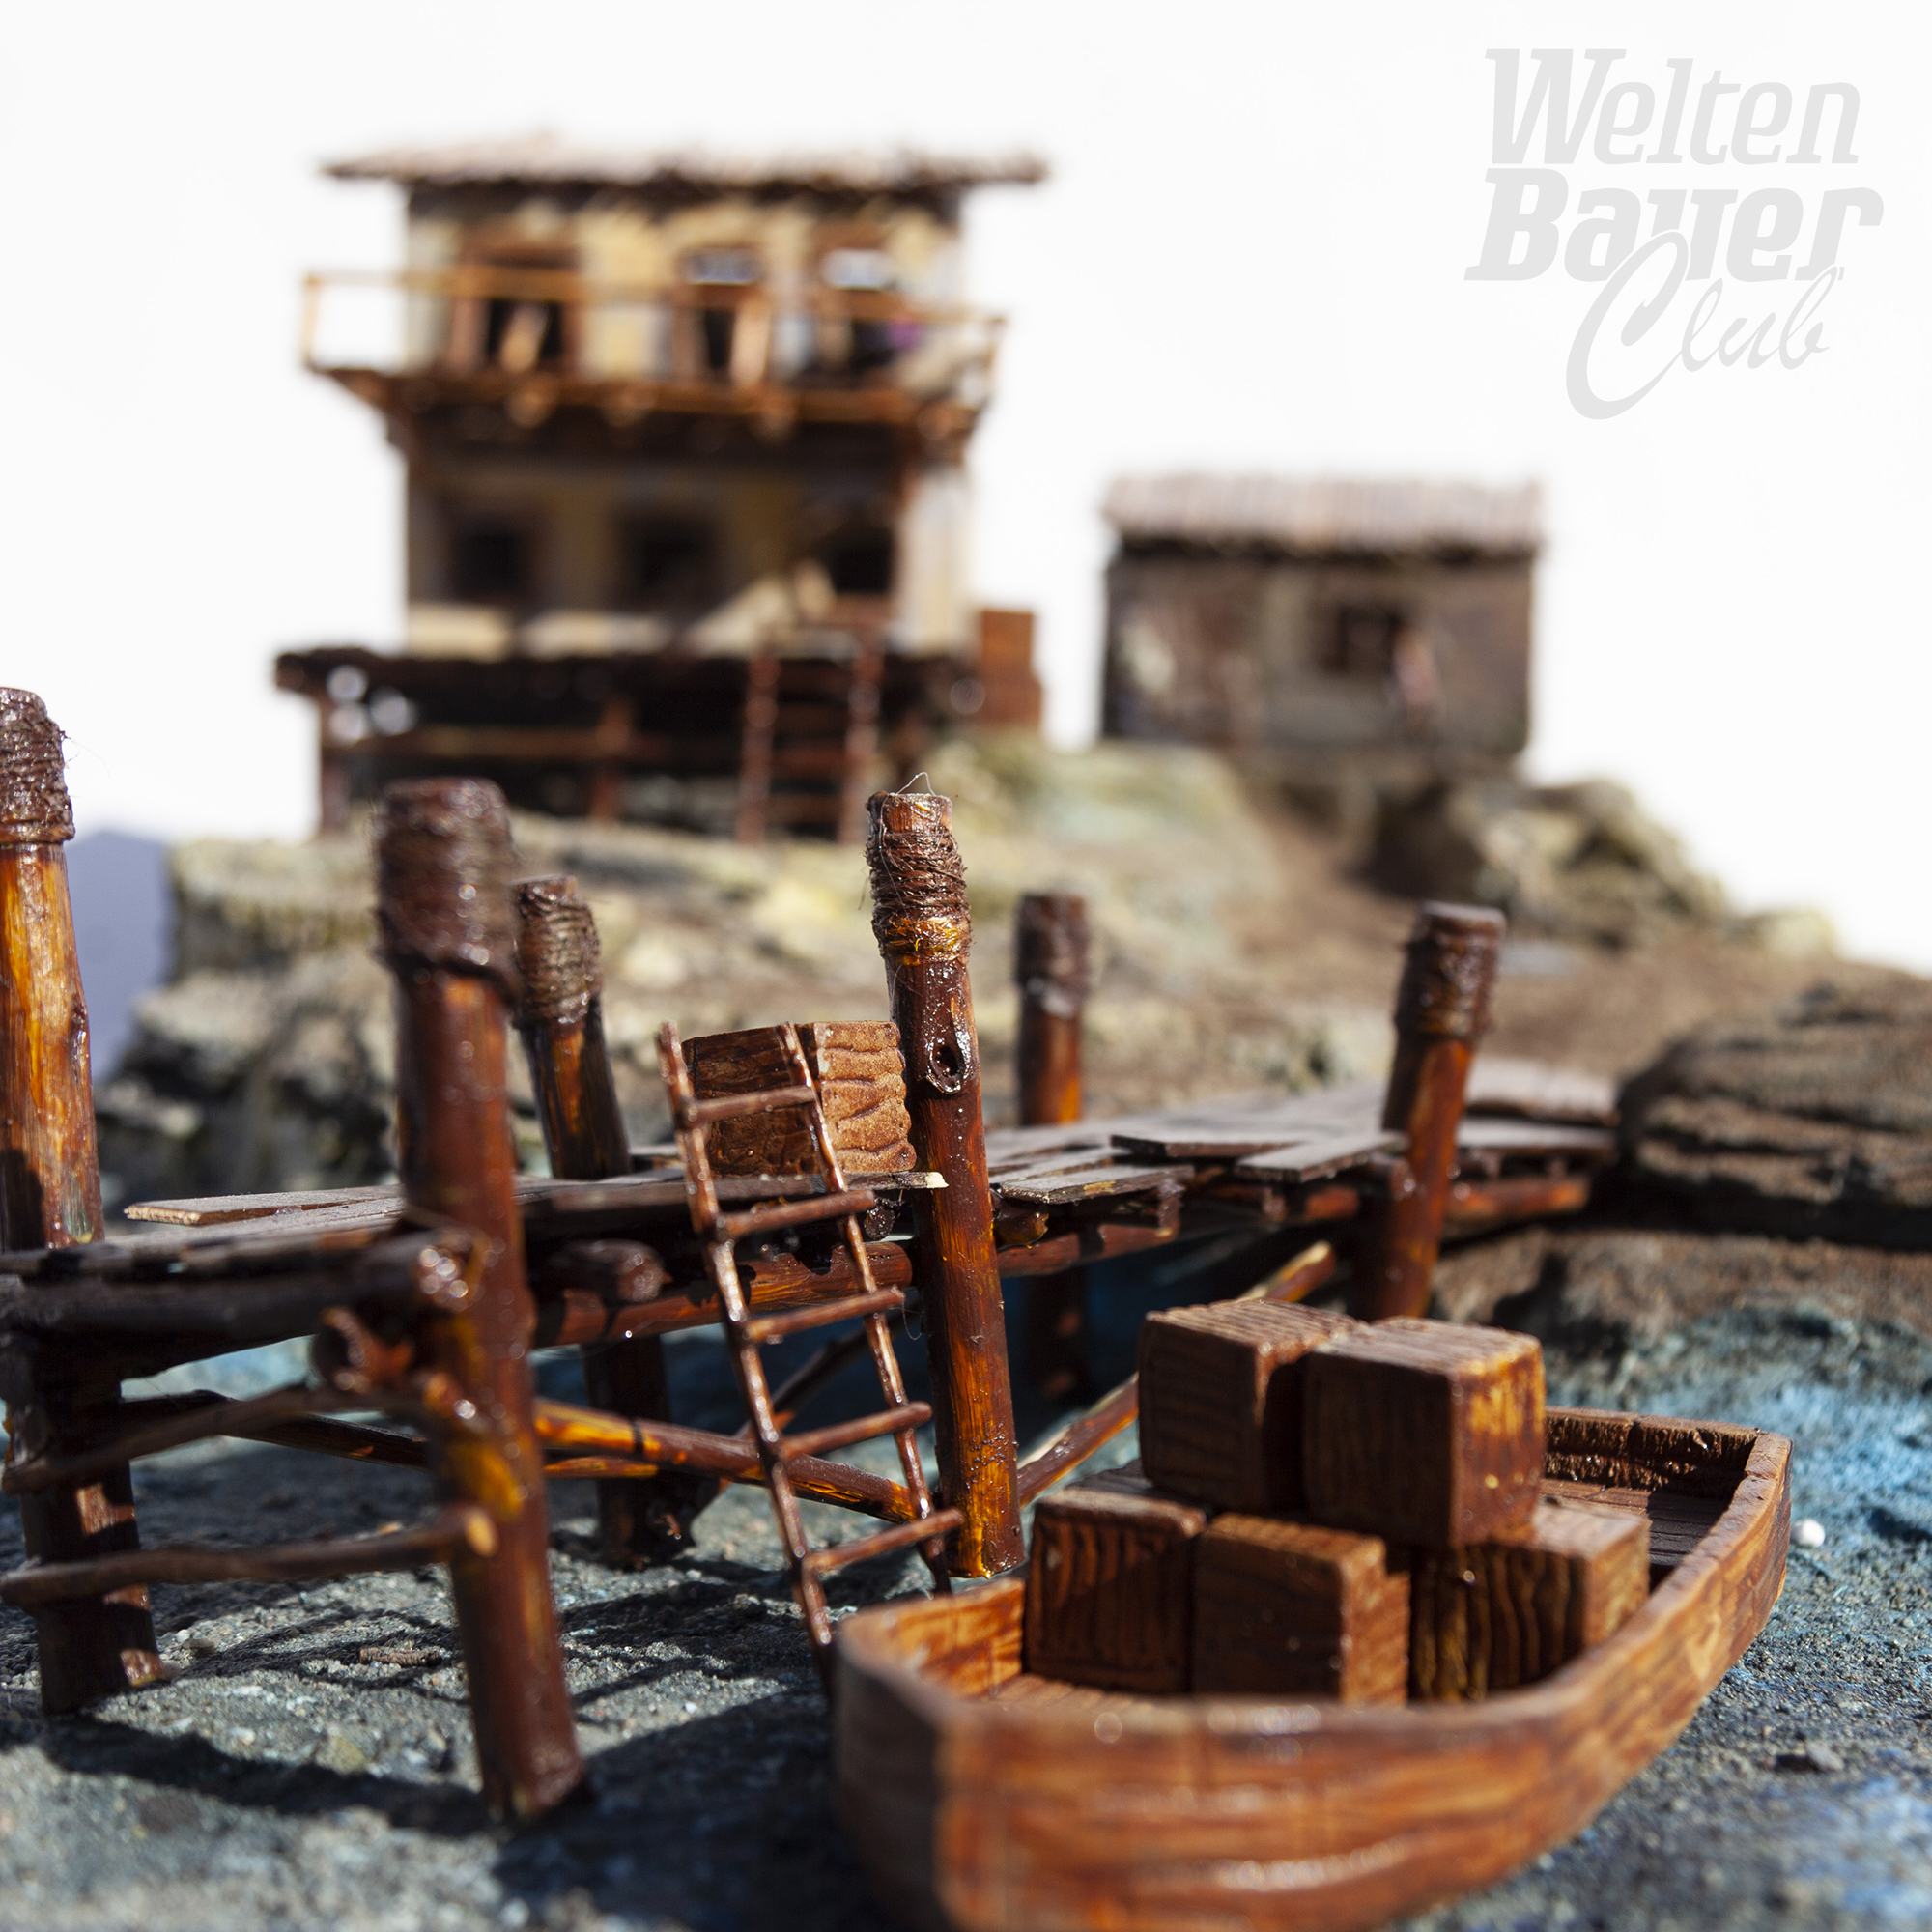
Presenting the Natural Harbor Board with Terrain Features and Miniatures (from Freebooter’s Fate)
→ Click on the images for a larger view.